


What is a Doctor Blade?
A doctor blade is used to meter and control the transfer of ink, coatings, and other fluids from an anilox roll in printing and converting processes. It removes excess material to ensure consistent ink delivery, clean print quality, and reliable performance on press.
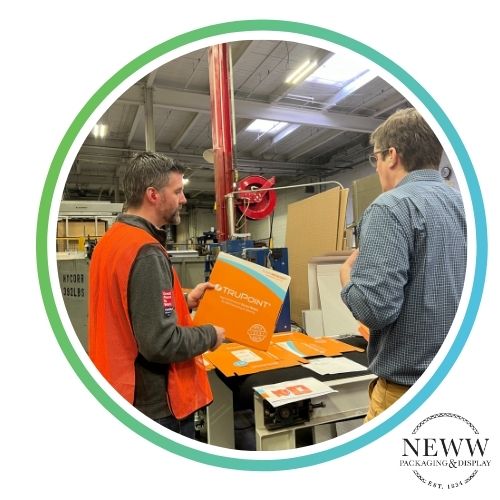
TruPoint® high performance doctor blades from Flexo Concepts are engineered for printing, coating, and continuous manufacturing applications, offering high-performance options tailored to specific press and process requirements.
TruPoint doctor blades are used to control the transfer of inks, coatings, and other fluids in printing and converting processes.


Why Do Printers Switch
to TruPoint Doctor Blades?
Printers switch to TruPoint doctor blades to improve print quality, reduce anilox wear, and increase pressroom safety.

Gerry Dugan
Ben Urquhart

Jonathan Grebenyuk
Why Do OEMs Partner with Flexo Concepts?
Industry leading OEMs around the globe partner with Flexo Concepts to help them push the boundaries of innovation. Our materials expertise, application support, and proven performance help OEMs ensure reliable results across printing, coating, and converting environments.


